|
Technique: Blending Colours.
Tutorial by Metara.

By request, here's a short basic explanation of blending in digital media.
I did this with a mouse, so the Wacom-deprived need not complain. Digital
painting is possible without the tablet, but the tablet will make it
quicker and easier. If you're serious about going digital with your art, you
should consider getting at least a small Wacom tablet.
For all painting purposes, I prefer the Paintbrush tool, and a hard-edged
brush. The soft-edged brushes can give an instant result when blending, but pics
done with them tend to end up with that fuzzy "PSP n00b" look.
Firstly, get the colours down on the screen. I set the brush to 50% opacity for
this (and I hope you're never painting with 100%, unless you just want to
cel-shade all your life).
Allow the colours to cross each other at the point where you want to blend.
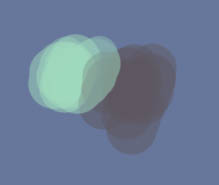
Use the eyedropper tool to select the bit in the middle. This is like traditional
painting in that you get your stuff down and then you use what you have rather than
introducing new colours all the time. (Duh, I was such a n00b...)
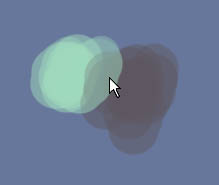
Now, take the opacity of your brush down to about 20% (Wacom people have pressure
sensitivity and may ignore). Paint over the hard edges where the two colours join.
Find a new overlap, select that colour...
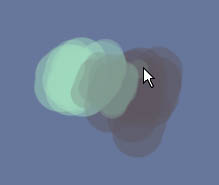
And paint over the hard edges. Do click the button more than once - go over things
and keep smudging, getting them as smooth as you can. Don't be afraid to be messy -
you can always paint back over a rough bit, and you'll get more arty texture in
the blend that way.
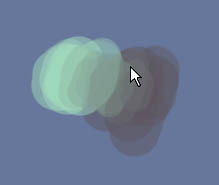
The only secret to smudging is patience and perseverance. Sorry! No filters! Keep
going until you like the look of what you've got. Blend lots and lots for digital
realism; minimal blending gives an impressionistic, painterly look.
Yes, this is mouse done.
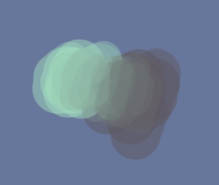

Thanks to Metara for letting me post this lovely tutorial.
| 
